Physical Address
304 North Cardinal St.
Dorchester Center, MA 02124
Physical Address
304 North Cardinal St.
Dorchester Center, MA 02124
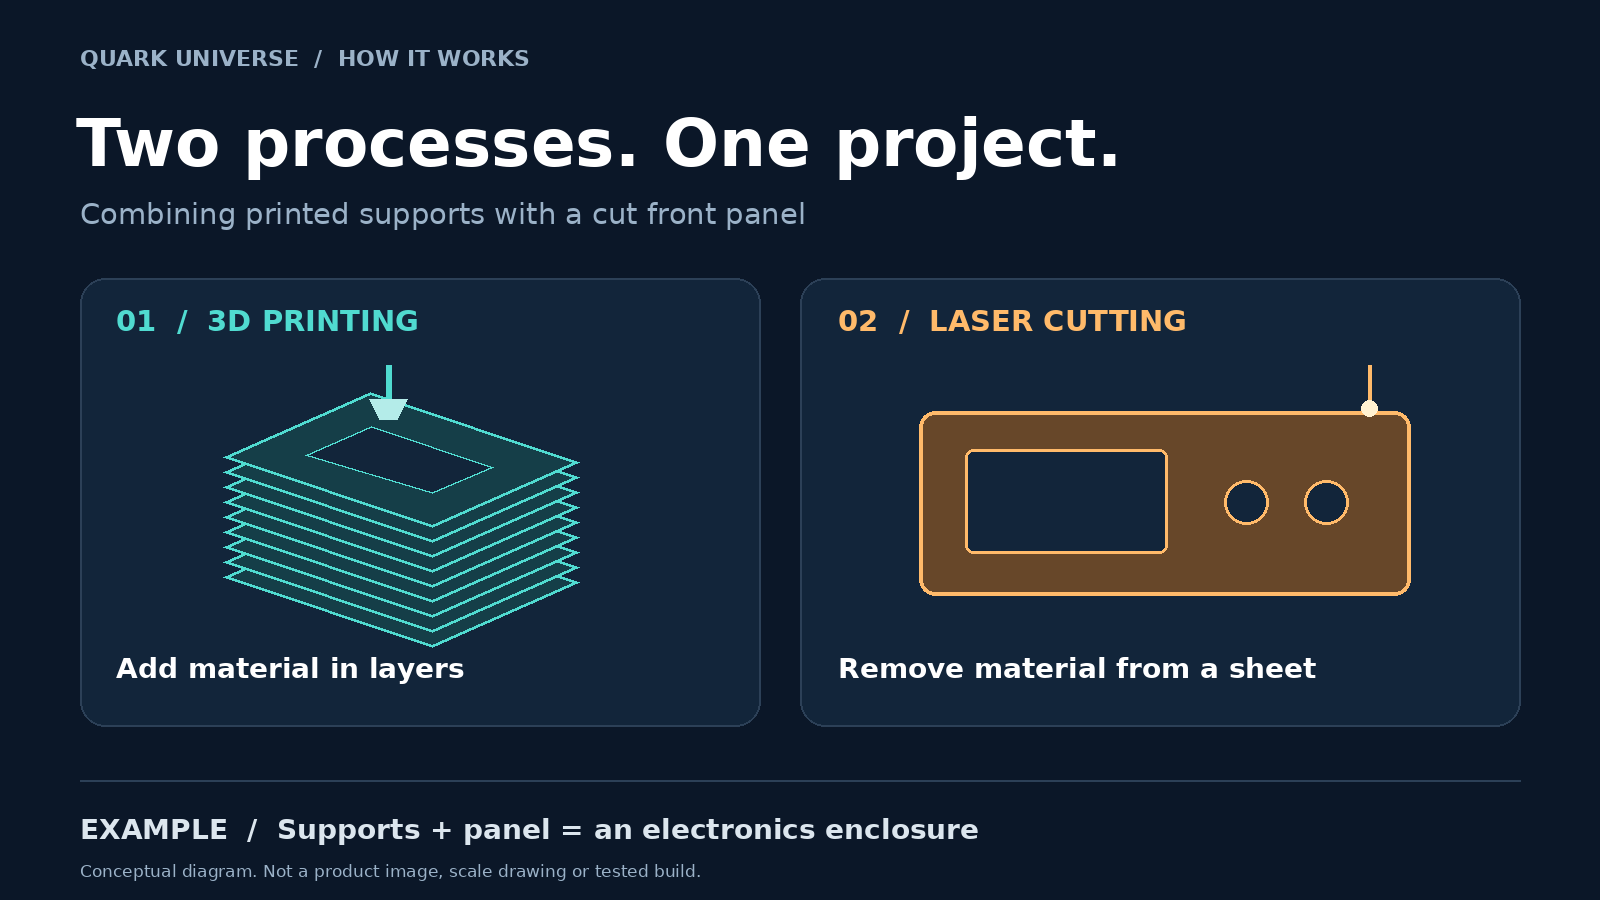
A 3D printer can make the brackets for an electronics enclosure. A laser cutter can make its flat panels. Put those parts together, and the interesting product is no longer either machine—it is the thing you can build with both.
That is a useful way to understand Bambu Lab’s R1. Announced on September 22, 2026, the standalone CO₂ laser cutter and engraver takes the company beyond printers and into a second category of workshop equipment. [1]
For people interested in 3D printing, electronics and DIY hardware, the question is straightforward: does adding another process solve a real problem at the workbench?
The following are manufacturer specifications, not measurements from a Quark Universe test. [1][2]
| Item | Launch information |
|---|---|
| Machine type | Standalone CO₂ laser cutter and engraver |
| Laser power | 55 W |
| Working area | 600 × 300 mm |
| US launch price | US$2,499 before tax |
| Announced shipping window | October 2026; actual delivery depends on region and order |
Bambu highlights automatic optical alignment and its TriSense positioning system, combining cameras, surface measurement and motion feedback. Its launch announcement also describes vibration compensation and automatic recognition of Bambu-branded materials. These are claims about the intended workflow; their reliability across everyday jobs needs testing. [2]
The appeal is easy to see. A useful workshop tool should spend more time making parts than asking its owner to become a maintenance specialist. Whether the R1 delivers that balance is the question an independent review should answer.
Most desktop filament printers build a part by depositing material in successive layers. Laser cutting starts with existing material and removes it along a path. They belong to the broader families of additive and subtractive manufacturing, which can complement each other. [3]
For a practical example, imagine a small desktop sensor with a display:
| Part of the project | A possible fabrication approach |
|---|---|
| Internal supports and cable guides | 3D-print shapes that fit the electronics |
| Flat front panel | Laser-cut openings for the display and buttons |
| Labels around the controls | Engrave suitable panel material |
| Final enclosure | Assemble the parts and check their fit |
This is an illustrative design idea, not a tested R1 project or a downloadable build plan. Material choice, fastening, clearances and operating temperature still need engineering decisions.
The useful change is freedom to divide the object into parts. You do not have to print a large, flat surface merely because a printer is the only tool you own. Equally, you do not have to turn every curved bracket into a stack of flat pieces because you have a laser.
Our interpretation of this launch is that the competition is expanding from individual machines to the experience of making a complete object.
A specification sheet tells you the size of the work area. It does not tell you how long it takes to place a design, prepare the material, recover from a mistake or produce a replacement part a month later.
Those less glamorous steps matter. For a hobbyist, they determine whether a weekend project gets finished. For a small workshop, they affect how repeatable a job is and how much attention each order needs.
Bambu’s emphasis on alignment, sensing and setup suggests that reducing this preparation work is central to the R1’s pitch. [2] But fewer setup steps should be demonstrated with ordinary materials and repeat jobs, not inferred from a polished launch video.
We would want a hands-on test to answer four questions:
These are evaluation criteria, not reported faults. Quark Universe has not tested the R1, and this article should not be read as a product recommendation.
There is also a distinction between automated setup and safe unattended operation. Bambu describes the standard enclosed R1 as Class 1, but says the Riser Base or Conveyor changes it to Class 4, intended for trained professional users with the specified protection. [1] An accessory can therefore change the operating requirements, not just the size of the project. Follow the manufacturer’s instructions for the actual configuration, materials, ventilation and supervision.
Owning a 3D printer does not create an obligation to buy a laser cutter. Start with the object you want to make.
If your projects mainly need small, shaped plastic parts, another manufacturing process may add little value. If they repeatedly need flat panels, cutouts and surface markings, it is worth exploring a combined workflow—perhaps through a local workshop before committing to another machine.
The R1 is interesting because it offers an adjacent capability to the 3D-printing audience. The decision at your own workbench should still come down to a simpler question: which part of the next project can you not make well with the tools already available?
Editorial note: This is source-based news analysis, not a hands-on review. Launch pricing and shipping plans are historical announcement details, not confirmation of current stock or delivery. Product information was checked on October 12, 2026.
1. Bambu Lab — R1 launch announcement, September 22, 2026.
2. Bambu Lab — official R1 announcement in its community forum. Only the company’s opening post is used as the source for specifications and feature claims.
