Physical Address
304 North Cardinal St.
Dorchester Center, MA 02124
Physical Address
304 North Cardinal St.
Dorchester Center, MA 02124
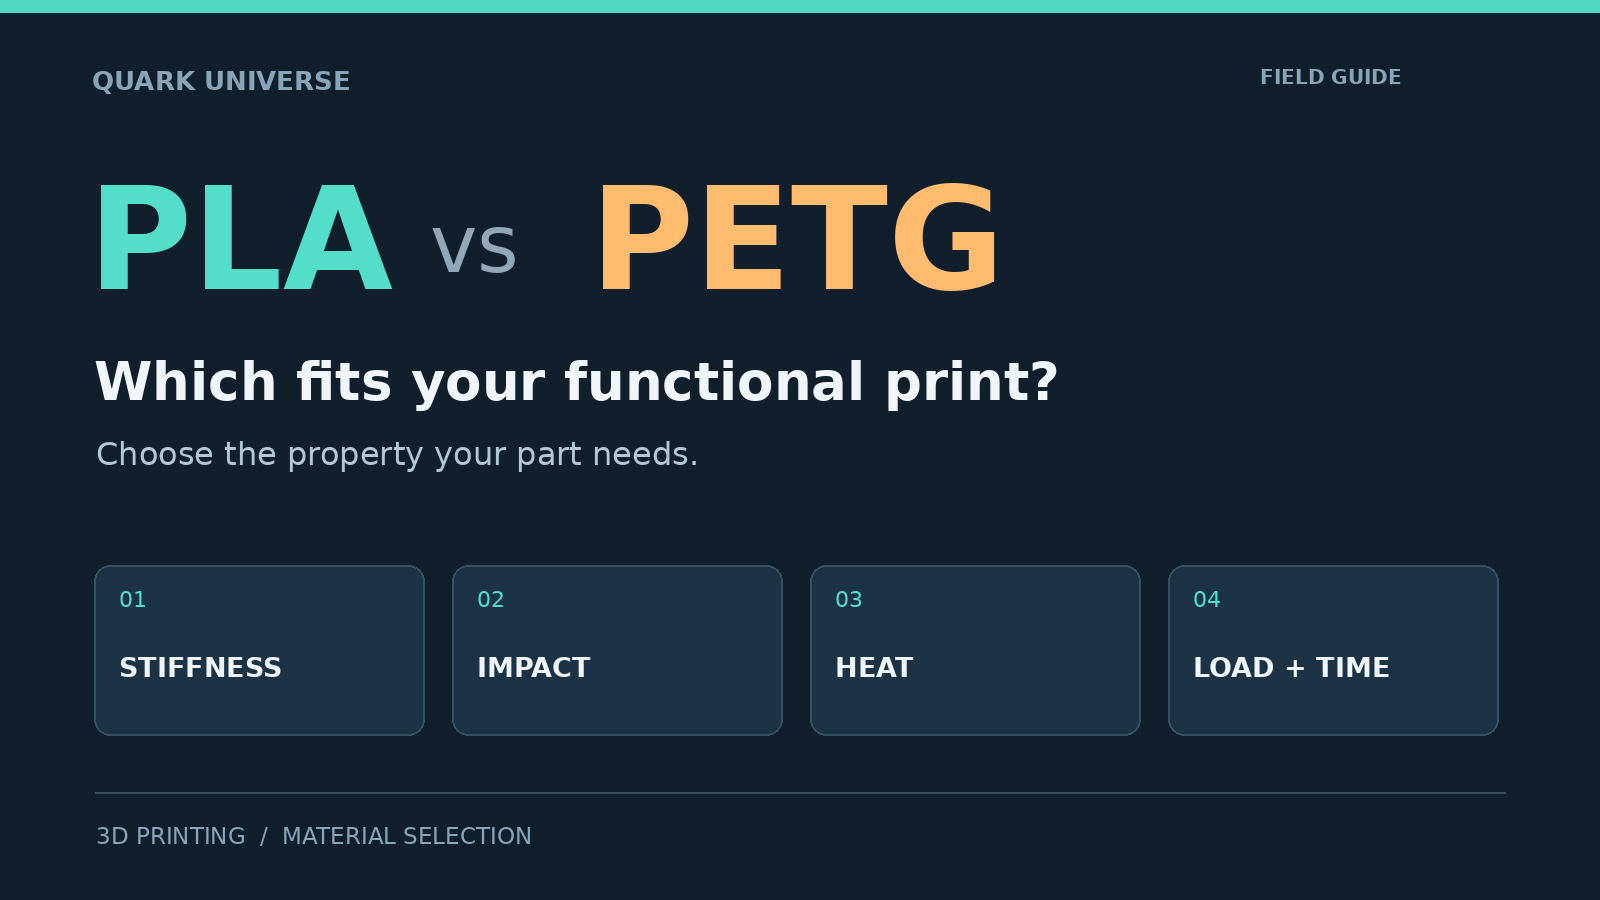
Choosing PLA or PETG starts with the job: rigidity, impact, heat and sustained load. Here is how to read the data and test a useful first part.
You print a bracket in PLA. It looks clean and feels solid. Then someone tells you that functional parts should always be PETG. Should you throw it away and start again?
Not necessarily. A drawer divider, a flexible cable clip, and a bracket beside a warm motor ask different things of their material. “Functional” describes what a part does; it does not specify the temperature, load, or type of failure it must survive.
Start with PLA for simple, rigid indoor parts in cool conditions. Consider PETG when impact tolerance, some flexibility, or greater heat resistance matters. For sustained load or substantial heat, validate the finished design rather than treating either name as a guarantee. These are starting points, not universal approvals. [1], [2]
A part can be difficult to bend but easy to break when struck. It can also bend without breaking yet fail its job because it no longer holds something in position. Separate these questions before comparing filament:
These are different measurements. A high value in one does not automatically give a high value in the others. Formlabs’ materials guide explains why modulus, tensile behavior, impact testing, and thermal properties need separate consideration. [5]
The following numbers come from Prusament’s PLA and standard PETG technical datasheets. Both documents are version 1.1, dated February 16, 2022. They are product-specific manufacturer results, not averages for all PLA or PETG and not Quark Universe measurements. [3], [4]
| Reported property | Prusament PLA | Prusament PETG |
|---|---|---|
| Tensile modulus — horizontal printed specimen | 2.3 ± 0.1 GPa | 1.5 ± 0.1 GPa |
| Tensile yield strength — horizontal printed specimen | 51 ± 3 MPa | 47 ± 2 MPa |
| Heat deflection temperature — 0.45 MPa, ISO 75 | 55 °C | 68 °C |
The mechanical specimens used the same printer model, 0.20 mm layers, two perimeters, and 100% rectilinear infill, with material-specific nozzle and bed temperatures. The HDT figures are listed separately as typical material properties. Do not apply the horizontal mechanical results to every print direction. [3], [4]
In this example, PLA has the higher tensile modulus and reported yield strength; PETG has the higher HDT. That is enough to reject a blanket “PETG is stronger in every way” claim. It does not establish which finished bracket will last longer. Neither table supplies a load rating for your model.
HDT is measured under a defined load and test procedure. A reported 68 °C does not mean a PETG hook can carry any weight indefinitely at 67 °C. TA Instruments specifically cautions against choosing materials for long-term service using this short-term property alone. [6]
Time matters as well as temperature. Under a sustained load, plastics can gradually deform: this is creep. Protolabs distinguishes long-term behavior under constant stress from short-term datasheet measurements. A quick bend test cannot establish how a loaded part will behave over weeks. [7]
For a real project, write down the warmest expected conditions, the load, how long it stays applied, and the amount of movement you can tolerate. A shaded indoor organizer and a continuously loaded bracket in a parked vehicle need different evaluations. If the environment is uncertain, choosing PETG is not a substitute for measuring it.
The examples below are our application of the material guidance, not tested designs. They assume ordinary, unfilled PLA and PETG. Formulations sold as high-speed, toughened, silk, or fiber-filled need their own data.
| Project | Sensible first trial | What to check |
|---|---|---|
| Desk organizer or drawer divider | PLA | Fit, rigidity, and distance from heat sources |
| Cable clip that must flex during fitting | PETG | Clip geometry, layer direction, repeated opening, and grip |
| Cool, low-voltage electronics enclosure prototype | PLA for fit checks; consider PETG for handling knocks or moderate warmth | Internal temperature, mounting points, ventilation, and lid fit |
| Continuously loaded hook or bracket | No automatic winner | Load direction, deflection over time, temperature, and attachment |
| Part kept in a hot vehicle | Neither by name alone | Actual temperature exposure and validated material/design limits |
Prusa describes PLA as easy to print and well suited to detailed models and prototypes, while highlighting its heat and impact limitations. Its PETG guidance emphasizes toughness and mechanical applications. That makes PETG a reasonable candidate for a clip, but the label cannot tell you how many opening cycles a thin hinge will survive. [1], [2]
For an enclosure, distinguish a fit prototype from a finished electrical product. A successful lid fit says nothing about flame performance or electrical suitability. Ordinary PLA and PETG are not interchangeable with specially rated grades.
FFF parts are direction-dependent. Prusa’s design guidance explains that print orientation changes structural behavior. Picture how the load travels through your part: is it supported by a broad section, or concentrated at a thin neck where layers can separate? [8]
For a bracket, sketch the load direction before slicing. Consider whether a different orientation, a shorter unsupported arm, or a reinforcing rib would better support it. These are design options to evaluate, not a promise that every rib or rotation improves every part.
Next inspect the walls in the sliced preview. PrusaSlicer’s documentation emphasizes the importance of perimeters to part strength. Increasing infill alone can leave a thin outer section as the weak point. Review wall thickness, solid regions around fasteners, and the connection between walls and infill before selecting 100% infill by habit. [9]
If a clip breaks at the same narrow corner every time, record that location. It gives you a specific design question to solve. Merely changing from PLA to PETG may hide the symptom without providing enough durability for the intended use.
PETG may need more attention to stringing, bridges, and support removal. It can also adhere too strongly to some build surfaces. Prusa warns about PETG on its smooth PEI sheets and recommends a separating glue layer if that surface is used. Check your own plate manufacturer’s compatibility instructions instead of assuming every PEI plate behaves identically. [2]
Start with a matching printer and filament profile. Do not force both materials to use identical temperatures or cooling settings just to make a comparison look controlled. Keep geometry and orientation consistent while using appropriate processing conditions for each material; record any differences.
Check filament condition too. Prusa’s drying guide lists moisture-related symptoms and product-specific drying guidance. If quality changes after storage, drying may be worth testing. Follow the filament and spool limits, then store the material dry. Stringing alone does not prove moisture is the cause. [10]
For an ordinary, low-consequence workshop part, use this practical screening sequence:
This is a proposed screening workflow, not certification or a universal test duration. Use appropriate engineering validation where failure could cause injury or significant damage. For everyday projects, the observations will still be more useful than deciding by filament name alone.
Choose the property your part needs first. PLA can be a practical choice when rigidity and easy printing matter in a cool indoor setting. PETG is a useful next candidate when the job needs more tolerance of flexing, knocks, or warmth. The finished geometry and its real operating conditions make the final decision.
Editorial note: This guide interprets manufacturer datasheets and technical documentation reviewed on October 26, 2026. Quark Universe has not performed the material tests or validated the example parts. The recommendations concern ordinary unfilled PLA and PETG; exact formulations and printing conditions can change results.
