Physical Address
304 North Cardinal St.
Dorchester Center, MA 02124
Physical Address
304 North Cardinal St.
Dorchester Center, MA 02124
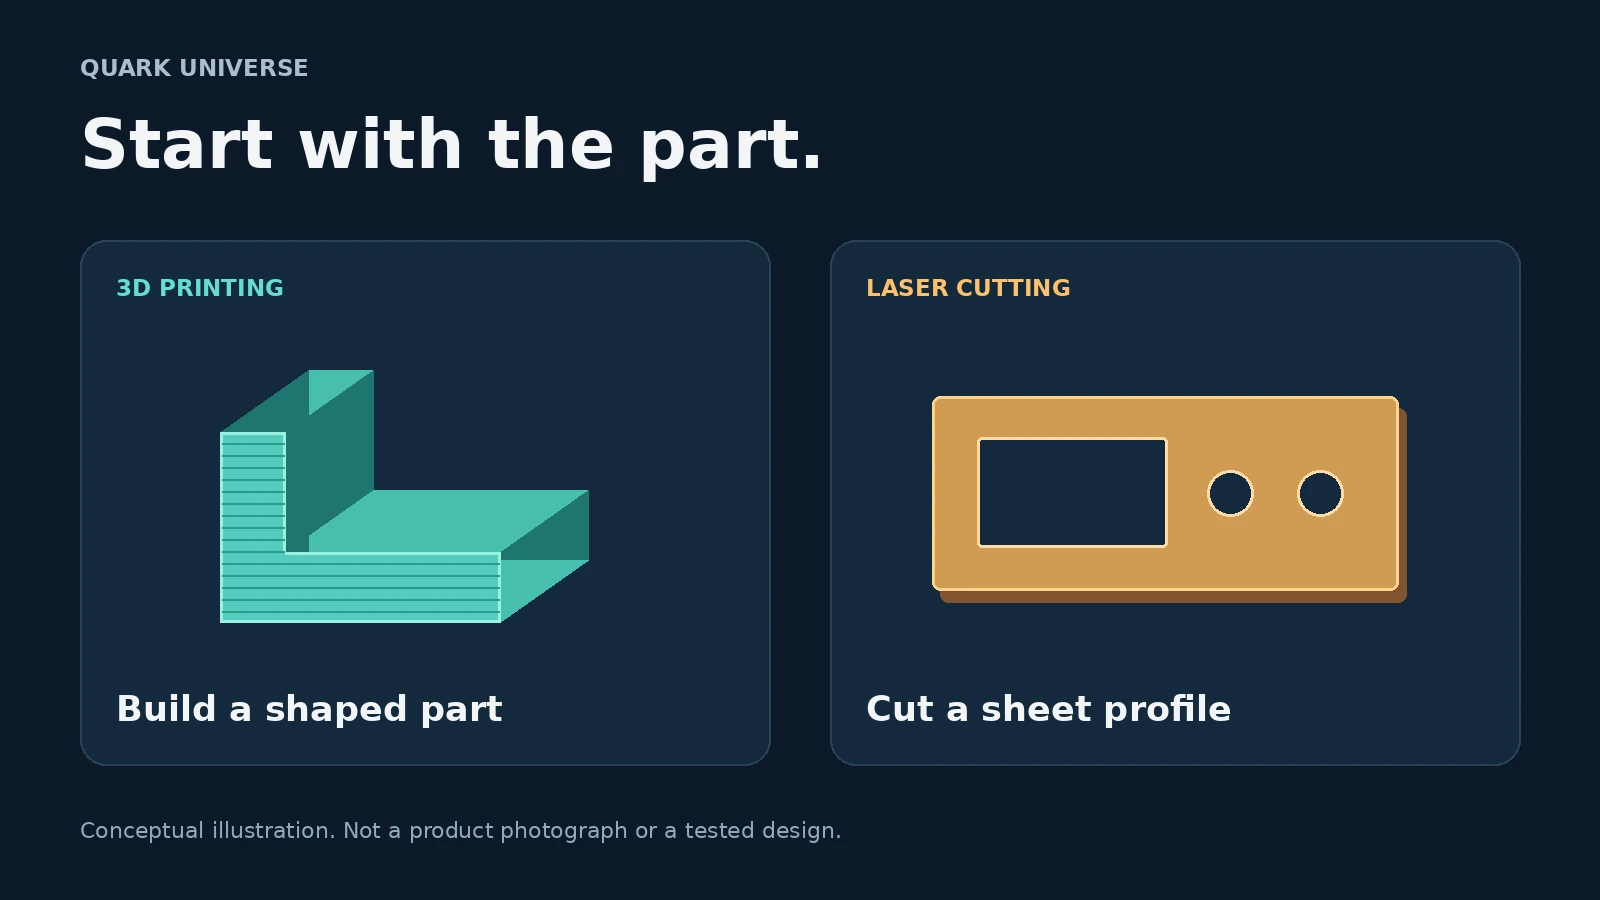
Choose between a 3D printer and a laser cutter by looking at part geometry, materials, finishing work, and the workspace your project needs.
A custom bracket and a flat control panel can belong to the same electronics project, yet point toward different tools. The bracket needs depth and mounting features. The panel needs a clean outline and openings in a sheet.
That is a more useful starting point than asking which machine is better. Start with the part you want to make, then choose the process that fits it. This guide focuses on desktop filament 3D printing and sheet cutting with desktop CO₂ or blue-light diode lasers. Resin printers and industrial metal systems need separate comparisons.
A filament 3D printer builds an object by depositing material in successive layers. A laser cutter removes material along paths in an existing sheet. The first creates a three-dimensional form; the second creates profiles that can remain flat or be assembled into something larger. [1]
Imagine a small desktop controller. A shaped support that holds its display at an angle is a candidate for printing. A front panel with a display window and button openings is a candidate for sheet cutting. Neither choice is automatic: dimensions, material, fit and assembly still need checking.
| Project | Process to consider | Check first |
|---|---|---|
| A shaped bracket or custom spacer | Filament 3D printing | Orientation, wall thickness and the loads on the part |
| A flat faceplate with openings | Laser cutting | Sheet material, thickness and the specific laser |
| An enclosure made from separate panels | Laser-cut panels, possibly with printed connectors | Joint design, fasteners and assembly time |
| A one-off part you need only once | A fabrication service or makerspace | Total delivered cost before buying a machine |
These are starting points for choosing a process, not tested build instructions.
A printable shape is not automatically a strong or easy-to-finish part. Prusa’s design guidance explains that orientation affects appearance and mechanical performance. Steep overhangs may require supports, although some short bridges can print without them. Surfaces touching supports can need additional finishing. [2]
Fit is another design task. A peg and hole drawn to identical dimensions may not fit together after printing. Prusa notes that useful clearance depends on geometry, orientation, settings, calibration and material; there is no universal value. A small test piece can reveal a fit problem before you print the entire enclosure. [2]
For a first project, keep the question narrow: can the part be oriented sensibly, and can a small prototype check its critical features? That is more actionable than comparing machines only by their advertised maximum speed.
“Cuts acrylic” is not a complete specification. xTool’s support guidance distinguishes blue-light diode lasers from CO₂ systems: a standard blue-light diode laser cannot directly cut clear acrylic, while suitable CO₂ machines can process it. Compatibility also depends on the particular material and machine. [3] [4]
For a clear front panel, check the exact machine’s documentation for that material and thickness. Do not assume that two products labelled “laser cutter” can complete the same job, or that engraving a surface means the machine can cut through it.
For sheet-built projects, the outline is only part of the design. Decide how the panels will join and how components will attach. A simple-looking panel may still need fasteners, spacers or a separate frame.
A useful comparison starts with one actual part. Prepare its design, obtain an estimate for the required process, and list the work that remains afterward.
For printing, count setup, material, any support removal and fit adjustments. For a sheet-based design, count the sheet, cutting, any edge cleanup and assembly. Include a failed attempt in your planning rather than assuming every job succeeds first time.
One option might finish its machine operation sooner but require more assembly. Another might consolidate several features into one part. There is no defensible universal winner without specifying the design, equipment and acceptable result.
Epilog’s setup guidance requires an appropriate exhaust or filtration arrangement matched to the laser. Its safety instructions also prohibit processing PVC and operating the machine unattended. A lid or camera does not replace the operating precautions in the manufacturer’s manual. [5] [6]
Before choosing a laser, confirm that your space can accommodate the manufacturer’s requirements and budget for the complete setup. For a printer, check its own installation and material-handling instructions too. This comparison is not an operating or ventilation-design manual.
Write down three things you actually want to make. For each one, sketch the geometry, identify the intended material, and list the dimensions or fits that matter. Then investigate which process can deliver those requirements in your workspace.
If the list is mostly shaped plastic supports, start by investigating filament printing. If it is mostly compatible sheet panels and signs, investigate laser cutting. If the projects mix both, consider owning the tool you will use regularly and outsourcing the occasional part.
You do not need to buy both machines to benefit from both processes. A successful first project is a better reason to expand a workshop than a long list of advertised capabilities.
Related reading: Bambu Lab R1: Why a 3D Printing Company Is Moving Into Laser Cutting.
Editorial note: This is a source-based process guide, not a hands-on comparison or a tested enclosure design. Sources were checked on October 12, 2026. The illustration is an original conceptual diagram, not a product photograph.
1. Formlabs — Additive vs. Subtractive Manufacturing
2. Prusa — Modeling with 3D printing in mind
3. xTool — Essentials When Processing Acrylic

good job